Extend Better Contact (sp_bettercontact) with custom fields

Extending Better Contact (sp_bettercontact) to include custom fields is quite easy. Lets assume that we want to add first_name and last_name as input fields in our contact form.

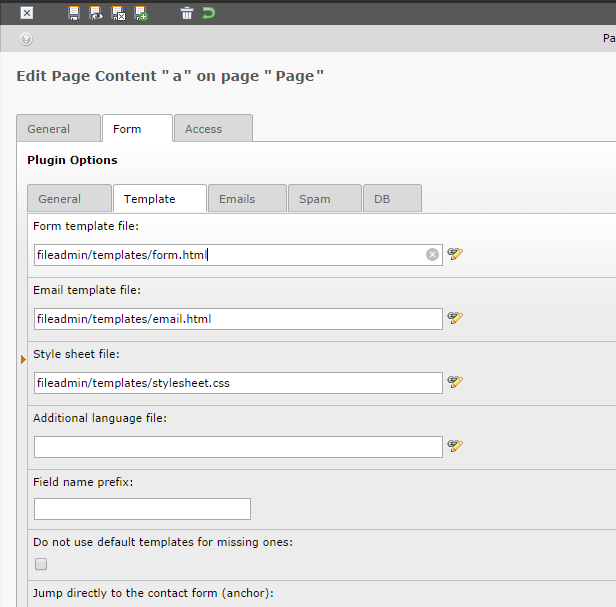
First of all you need to find and adjust your HTML template. You can find default version in sp_bettercontact plugin directory, e.g. EXT:sp_bettercontact\res\templates\frontend\form.html. Preferably make a copy somewhere in your fileadmin folder and instruct sp_bettercontact plugin to use copy of template.

sp_bettercontact_template

Insert fields into HTML template:


<!--
Field for first name
-->
<p class="tx_spbettercontact_message">###MSG_FIRST_NAME###</p>
<label for="###FIRST_NAME###" class="tx_spbettercontact_label firstname_label">###LABEL_FIRST_NAME### ###REQUIRED_FIRST_NAME###</label>
<input type="text" name="###FIRST_NAME###" value="###VALUE_FIRST_NAME###" class="###ERR_FIRST_NAME###" />
<br />
<!--
Field for last name
-->
<p class="tx_spbettercontact_message">###MSG_LAST_NAME###</p>
<label for="###LAST_NAME###" class="tx_spbettercontact_label lastname_label">###LABEL_LAST_NAME### ###REQUIRED_LAST_NAME###</label>
<input type="text" name="###LAST_NAME###" value="###VALUE_LAST_NAME###" class="###ERR_LAST_NAME###" />
<br />

Please note syntax of HTML markers (MSG_, VALUE_, ERR_, REQUIRED_, LABEL_).

Afterwards we need to make sp_bettercontact plugin aware of new fields via TypoScript setup, e.g.:


plugin.tx_spbettercontact_pi1 {
 fields {
  first_name {
   required = 1
   minLength = 3
   maxLength = 70
   regex =
   disallowed = 0123456789<>(){}!?%&§$
   allowed =
   default =
  }
  last_name {
   required = 1
   minLength = 3
   maxLength = 70
   regex =
   disallowed = 0123456789<>(){}!?%&§$
   allowed =
   default =
  }
 }
 _LOCAL_LANG.default {
  msg_first_name_empty = First name missing!
  msg_last_name_empty = Last name missing!
 }
}

As for labels and translations, you could inline them like in above example or you could use locallang.xml file to insert you own localisations. Take a look at EXT:sp_bettercontact\res\templates\examples\additional_locallang.xml file.

Automatically fill user data in Better Contact (sp_bettercontact)

Sometimes we want our contact forms to come pre-populated with data that we already know in order to make things easier for end user. Here is a snippet of TypoScript code that will populate our new variables with first name and last name of registered user (provided he’s logged in):


[loginUser = *]
lib.val_first_name = TEXT
lib.val_first_name.data = TSFE:fe_user|user|first_name
 
lib.val_last_name = TEXT
lib.val_last_name.data = TSFE:fe_user|user|last_name
 
plugin.tx_spbettercontact_pi1.fields.first_name.default < lib.val_first_name
plugin.tx_spbettercontact_pi1.fields.last_name.default < lib.val_last_name
[global]

If you with to prevent users from editing pre-populated fields consider using readonly HTML tag instead of disabled for input elements because contact form might have a trouble reading data from disabled elements.

Integrate Piwik in Typo3

“Piwik is the leading open source web analytics platform that gives you valuable insights into your website’s visitors, your marketing campaigns and much more, so you can optimize your strategy and online experience of your visitors.”

Source: http://piwik.org/

Piwik works more or less the same way Google Analytics or any similar analytics platform does. One major difference is that you can host Piwik instance on your own servers without the need to share data with 3rd party vendors. So step #1 is obviously to install Piwik on your own server. Installation is dead simple and FTP access (along with prepared database for data storage, e.g. MySql) will suffice. Copy files, setup database connection string and you’re good to go.
Once installed you should insert generated javascript code (adding new web site to track will provide you with javascript code) into your HTML code. You can insert it either in HTML template file, via TypoScript e.g. page.jsFooterInline or directly in page’s HTML e.g. page.99.value = ….

jsFooterInline will wrap javascript code in <script> tag for you and place it right before body closing tag.


page.jsFooterInline {
  10 = TEXT
  10.value (
  var _paq = _paq || [];
  _paq.push(['trackPageView']);
  _paq.push(['enableLinkTracking']);
  (function() {
    var u = (("https:" == document.location.protocol) ? "https" : "http") + "://domain/piwik_instance/";
    _paq.push(['setTrackerUrl', u+'piwik.php']);
    _paq.push(['setSiteId', 1]);
    var d=document, g=d.createElement('script'), s=d.getElementsByTagName('script')[0]; g.type='text/javascript';
    g.defer=true; g.async=true; g.src=u+'piwik.js'; s.parentNode.insertBefore(g,s);
  })();
  )
}

Also note that with config.removeDefaultJS = external, the inlineJS is moved to an external file.

Inserting javascript directly into page’s HTML might look like this:


page.99 = TEXT
page.99.value (
  var _paq = _paq || [];
  _paq.push(['trackPageView']);
  _paq.push(['enableLinkTracking']);
  (function() {
    var u=(("https:" == document.location.protocol) ? "https" : "http") + "://domain/piwik_instance/";
    _paq.push(['setTrackerUrl', u+'piwik.php']);
    _paq.push(['setSiteId', 1]);
    var d=document, g=d.createElement('script'), s=d.getElementsByTagName('script')[0]; g.type='text/javascript';
    g.defer=true; g.async=true; g.src=u+'piwik.js'; s.parentNode.insertBefore(g,s);
  })();
  )
page.99.wrap = <script type="text/javascript">|</script>
page.100 = TEXT
page.100.value (
<noscript><p><img src="http://domain/piwik_instance/piwik.php?idsite=1&rec=1" style="border:0;" alt="" /></p></noscript>
)

In case javascript is disabled <noscript> (page.100) tag will be executed and Piwik will gather data using image tracking tag. We should append this bit at the end either way (also when using jsFooterInline).

Piwik also supports custom variables, i.e. it gives you ability to collect some custom data about your users and pages they’re visiting. By default is supports up to 5 different custom variables with two different scopes for each of them: “visit” and “page”.

Syntax is rather simple:

_paq.push(['setCustomVariable', variable_id, variable_name, variable_value, scope]);

variable_id = id of variable we want to track, range from 1-5
variable_name = name of variable
variable_value = value to be inserted
scope = scope we want to track, either “visit” or “page”

So you might jam something like this in the middle of your javascript tracking code:

...
_paq.push(['setSiteId', 1]);
_paq.push(['setCustomVariable', 1, "Usergroup", _usergroup, "visit"]);
_paq.push(['setCustomVariable', 1, "Usergroup", _usergroup, "page"]);
_paq.push(['setCustomVariable', 2, "Country", _country, "visit"]);
_paq.push(['setCustomVariable', 2, "Country", _country, "page"]);
_paq.push(['trackPageView']);
...

just make sure to fill _usergroup and _country javascript variables with correct data.